Images improve the reading experience of any blog post you may find on the internet. They achieve this by giving the readers’ eyes a break from the thousands of words that most of us bloggers churn out every day.
However, as a blogger, you might find it hard to find quality photos to decorate your posts with.
To solve this problem, I’m going to show you how to find free quality stock images that you can use on your blog without worrying about copyright issues.
Where Can You Find Free Stock Images to Use on Your Blog?
Numerous sites on the internet offer copyright-free images but I’m only going to focus on three sites.
I’ve used more than 10 sites for the same purpose but I eventually settled for Unsplash, Pixabay, and Pexels—because they offer the most in regards to quality.
It’s worth noting that you can also monetize your photography on the three platforms. I don’t know how it all works but the point of this post is to show you where you can get free quality photos to use on your blog.
Pexels
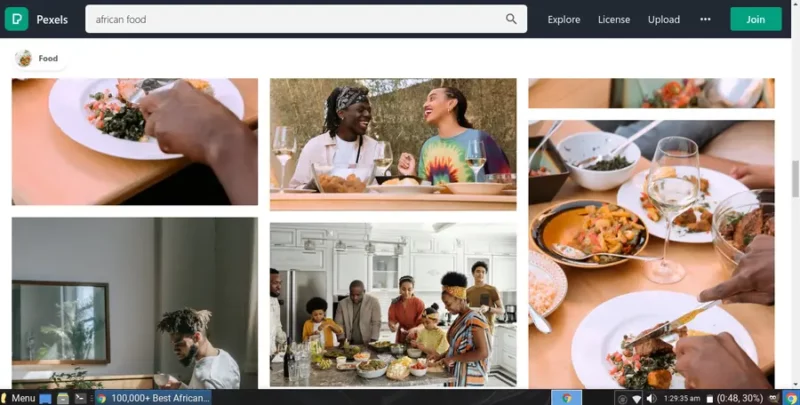
Pexels is among the most popular stock image sites in the world. To use the platform, go to pexels.com on your browser and key in a search phrase related to the kind of images you need for your project.
Once you find the right photo, click on it, and on the top right, click on Free Download.

One thing I love about Pexels is that it allows you to quickly customize image dimensions before downloading. To achieve this, tap on the down arrow next to the Free Download button.
With the size customization feature, you can easily get the right size of the image and cut down on editing time especially if you’re a sucker for uniformity on your blog.
This feature is why Pexels is always my go-to for free stock photos to use on my blogs.
After downloading the photo, you may have the option of using it on your blog without giving credit to the photographer. However, it’s always good practice to give credit to the owner of the photo especially if it’s helping on your blog.
Attribution gives them exposure if they are professionals—it’s easy to do by simply copy-pasting the details that pop up after you download an image.
Unsplash
Unsplash is as popular if not more popular than Pexels. The image-searching procedure is the same. However, you won’t have size customization options.
The only selection you can make is one from the provided resolutions. The higher the resolution the better the image quality and the larger the size of the downloaded file.
Like Pexels, Unsplash makes it easy to give attribution to a photographer by quick copy and pasting. The attribution provides a link that leads your readers to the photographer’s portfolio.
I use Unsplash every once in a while because I have an account on the site. It is worth noting that just like on Pexels, you don’t need to have an account to be able to download images.
Opening an account comes in handy if you want to create collections for future use or want to share your photography on the platform. I recently started curating images on Unsplash.
Feel free to head over to my profile and download any of them to use on your blog or any other project.
I’ll be updating my collection as frequently as I can—create an account if you haven’t already and follow me on Unsplash.
Pixabay
If you’ve read the previous two sections of this post, then you already know how to use Pixabay. It works exactly like Pexels and Unsplash.
Like Unsplash, Pixabay also lacks the option of customizing image dimensions to your liking.
Other sites where you can get free stock images:
- Reshot (Includes free icons and illustrations)
- FreeStocks (Brace yourself for ads)
- Picography
- Picspree
- Stocksnap
In Case You Want to Quickly Edit the Free Stock Photos
There’s a simple and quick solution if you want to do one or all of the following; resizing, cropping, compressing, or converting to webp format.
I’d recommend you convert all your photos to webp which is the lightest and quality format to improve your blog’s page load time.
Visit ResizePixel to access all these editing options in one place and optimize your images within a few seconds without losing any quality.
You can use the Jetpack for WordPress plugin to optimize existing photos on your blog. If you’ve never used Jetpack before, you can read more on how to boost your blog with the plugin. It even blocks out any hacking attempts from robots and humans.
Alternatively, another way to optimize images that are already live on your site in one go, you can try one of the following plugins if you’re a WordPress user:
Pro tip: Always credit photographers whenever you can as it helps them gain more exposure and potentially land clients.
